Working with spreadsheets/Spreadsheet design/Working with columns and rows
From WikiEducator
| Working with spreadsheets | |
|---|---|
| Spreadsheet design | Introduction | Planning a spreadsheet | Working with columns and rows | Formatting data | Key points | Assessment |
Contents
Changing the size of columns and rows
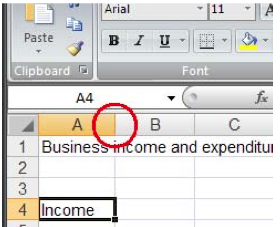
You may need to change the height of a row or the width of column to make room for the information you enter in the spreadsheet.
|
Please note: the following link will open in a new window/tab. When you have finished, simply close the window/tab and you'll return to this page.
You might also like to check out the relevant parts of the video on this page.
|
Inserting rows and columns
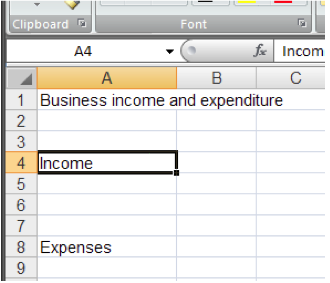
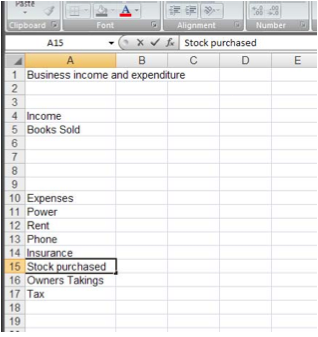
You often need to add an extra row or column as you are building your spreadsheet.
|
Please note: the following link will open in a new window/tab. When you have finished, simply close the window/tab and you'll return to this page.
You might also like to check out the relevant parts of the video on page 2.
|


