Researching and Presenting Data/Creating/Slides and text
| Researching and Presenting Data | |
|---|---|
| Creating a presentation | Introduction | PowerPoint basics | Slides and text | Working with images | Customising your presentation | Key points | Assessment |
Working with slides and text
To open PowerPoint, double-click on its icon on the desktop.
When the PowerPoint application is opened a new blank presentation is automatically displayed in the PowerPoint window.
|
Please note: the following links will open in a new window/tab. When you have finished, simply close the window/tab and you'll return to this page.
|
Slide Layouts
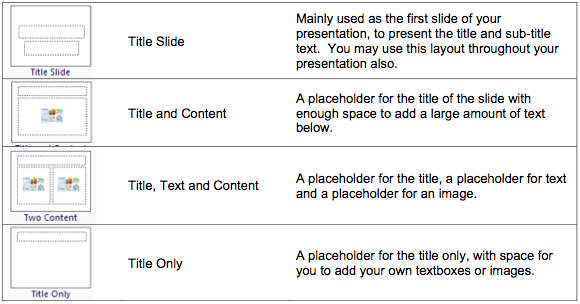
All slides have layouts which are designed to make it easier for you to enter text and insert graphics.
Examples of slide layouts:
Applying a theme
Instead of a plain colour as your background, you can choose to use one of PowerPoint’s themes.
|
Please note: the following links will open in a new window/tab. When you have finished, simply close the window/tab and you'll return to this page.
|
Applying a template to a presentation you are creating means the design work is already done for you.
You can apply a template when you are just starting a presentation, or you can create a presentation and apply the template later. These themes can be altered to suit your presentation if necessary but keep in mind the following:
- Select the Design Tab from the Ribbon.
- From the Design Tab you are able to select the theme for your presentation

- Click once on the theme you would like to use
- This theme will be applied to all the slides you create.
Entering text on a slide
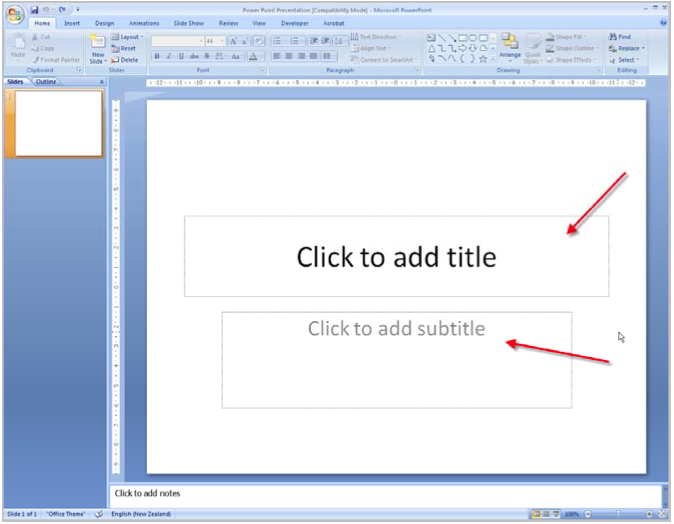
In PowerPoint all text needs to be entered within text boxes which are referred to as placeholders e.g. title placeholder.
You will find that the first slide of your presentation is a Title Slide, where you are able to enter a title and subtitle to your presentation.
- Click once inside the placeholder you want to enter text in, e.g. click to add a title.
Your cursor will become active and you can now enter your text.
Tourism Dunedin part 1For the purpose of this workbook we will be creating a presentation on Tourism Dunedin. You will need to save this presentation to your personal storage device so that you can update the presentation as required.
|
Insert a New Slide
- Go to your Home Tab
- Select New Slide
- From the dialog box select the layout you would like: the slide will now be inserted after the previous slide.
Using bullet points
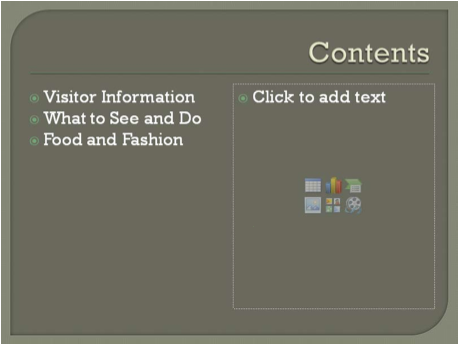
Bullet points are used to deliver key ideas. Bullet points should contain about six words and there should be a maximum six bullet points per slide.
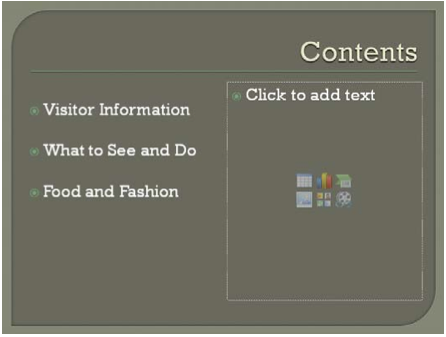
Key bulleted items as shown below.
Press Enter at the end of each line of text to move to the next bullet.
Changing the Line Spacing
Changing the line spacing will increase or decrease the gap between each line.
To increase or decrease the line spacing follow these steps:
- Select the lines to be changed
- Click once on the Line Spacing button located in the Paragraph Group:
- Choose the linespacing you would like: eg setting it 2.0 will increase the space between lines
Indenting Bullets
You are able to indent bullets to assist in the presentation of information. An example of a slide with indented bullets is below:
To apply indenting to a bulleted line:
- Go to Home Tab > Paragraph Group
- Click on Increase List Level
This will change the bullet position e.g. moves it further in. It will also change the level of the bullet.
More Functions
On the Insert Tab in the Text group you can:
- Insert a header and footer, date and time, and slide page number.
Click on Header and Footer and the dialogue box will appear. This gives you the option of adding the date and time, the slide number and the text for your footer. - Insert a symbol: you can change the bullet point from the symbol dialogue box.
|
Please note: the following links will open in a new window/tab. When you have finished, simply close the window/tab and you'll return to this page.
|

