Researching and Presenting Data/Creating/Images

From WikiEducator
Jump to: navigation, search
OtagoPoly Logo S.png


Inserting a picture from a file

When you are creating a presentation you may have photos that you would like to use: you are able to insert these into your presentation.


OP icon activity.gif

Activity

Please note: the following link will open in a new window/tab. When you have finished, simply close the window/tab and you'll return to this page.

  • Work through page 2 of the tutorial on Pictures and Clip Art

Don't forget to view the video!


Inserting clip art

Powerpoint includes ready-made clip art that can be included in your presentations.


OP icon activity.gif

Activity

Please note: the following link will open in a new window/tab. When you have finished, simply close the window/tab and you'll return to this page.

  • Work through page 6 of the tutorial on Pictures and Clip Art

You might also find it helpful to view the video on page 2 of the tutorial.


Resizing and moving images

Once you have inserted an image from a file or as clip art, you will probably need to adjust its size and its position on the page .


OP icon activity.gif

Activity

Please note: the following link will open in a new window/tab. When you have finished, simply close the window/tab and you'll return to this page.

  • Work through page 3 of the tutorial on Pictures and Clip Art

You might also find it helpful to view the video on page 2 of the tutorial.


OP icon exclamation.gif

Please note

You can use the same methods that you use with images to resize and move text boxes.


Cropping Images

Sometimes you only need part of the image, so you will need to remove parts of the image near the edge.

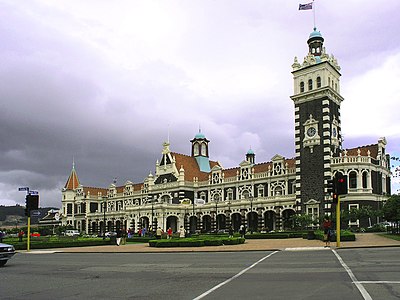
For example, in the photo below of Dunedin Railway Station we might crop the image below to focus on one part of the building:

Before cropping:

Dunedin Railway Station 2.jpg

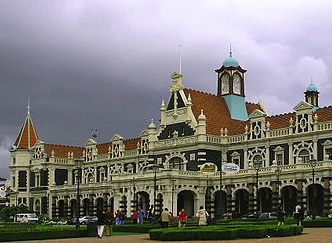
After cropping:

Dunedin Railway Station 2-cropped.jpg

Note that the cropped image has also been resized to make it the same overall size as the original image.


OP icon activity.gif

Activity

Please note: the following link will open in a new window/tab. When you have finished, simply close the window/tab and you'll return to this page.

  • Work through page 5 of the tutorial on Pictures and Clip Art

You might also find it helpful to view the video on page 2 of the tutorial.


Change Picture Styles

To improve the look of the image file you inserted you are able to add picture styles such as borders, shapes and effects .


OP icon activity.gif

Activity

Please note: the following link will open in a new window/tab. When you have finished, simply close the window/tab and you'll return to this page.

  • Work through page 4 of the tutorial on Pictures and Clip Art

You might also find it helpful to view the video on page 2 of the tutorial.


Deleting Text Boxes and Images

  1. Select the text box or image by clicking once on the border, when you have the 4 headed arrow displayed.
  2. Press the delete key on your keyboard
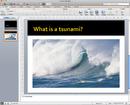
    PPT-delete-picture.png


Web-icon.png

Extra resources

  • PowerPoint 2010: Insert and format Images (YouTube)


OP icon activity.gif

Activity

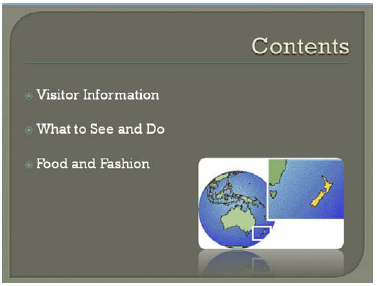
Tourism Dunedin part 4: the contents page

  1. In the right hand content place insert a clip art image using the keyword New Zealand
  2. Resize the image to width: 10.0 cm – the height will automatically update
  3. Move the image so that it appears in the bottom right hand corner of the slide
  4. Apply the picture style reflected rounded rectangle

PPT-TD4-1.png


OP icon activity.gif

Activity

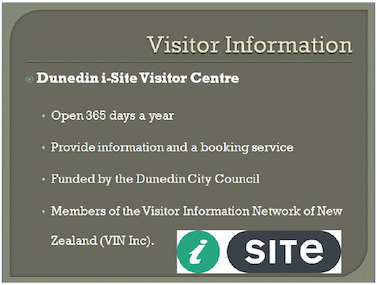
Tourism Dunedin part 4: slide 3

  1. Insert new blank slide, two content layout option
  2. Enter text in the heading and the bullet points
  3. Insert a picture in bottom right hand corner, adjusting sizes where necessary. We have used the iSite Logo - you can choose something suitable - eg from the clip art
  4. Format the bulleted text:
    1. First bullet point font size is 28 point
    2. Indented bullets font size is 24 point
  5. Apply 2.0 (double line) spacing

PPT-TD4-2.png


OP icon activity.gif

Activity

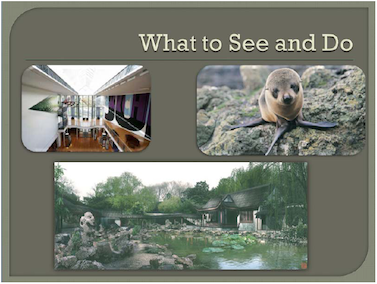
Tourism Dunedin part 4: slide 4

  1. Insert new blank slide, title only layout option
  2. Enter text in the heading
  3. Insert several pictures as per the example: you can choose something suitable
  4. Resize the images using the resize handles
  5. Move the images so that the layout is similar
  6. Apply picture styles to the images

PPT-TD4-3.png


OP icon activity.gif

Activity

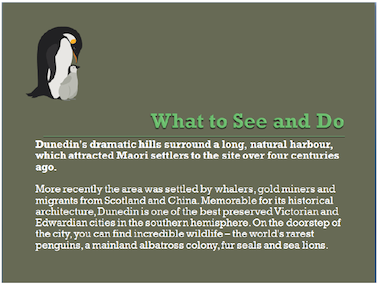
Tourism Dunedin part 4: slide 5

  1. Insert new blank slide, section header layout option
  2. Enter text in the heading and all the information
  3. Resize the text box as shown below
  4. Insert a clip art image using the keyword penguin
  5. Resize the image as necessary
  6. Move the image so that the layout is similar

PPT-TD4-4.png


OP icon activity.gif

Activity

Tourism Dunedin part 4: slide 6

  1. Insert new blank slide, title only layout option
  2. Enter text in the heading
  3. Insert several pictures as per the example: you can choose something suitable
  4. Resize the images using the resize handles
  5. Move the images so that the layout is similar
  6. Apply picture styles to the images

PPT-TD4-5.png


OP icon activity.gif

Activity

Tourism Dunedin part 4: slide 7

  1. Insert new blank slide, section header layout option
  2. Enter text in the heading and all the information
  3. Resize the text box as shown below
  4. Insert a clip art image using the keyword fork
  5. Resize the image as necessary
  6. Move the image so that the layout is similar

PPT-TD4-6.png