Text and Images/Word-processing essentials/Basic layout

From WikiEducator
Jump to: navigation, search
OtagoPoly Logo S.png


Web-icon.png

Extra resources

Please note: the following tutorial will open in a new window/tab. When you have finished the tutorial, simply close the window/tab and you'll return to this page.

If you are totally new to word processing, you might like to check out this online tutorial before you go on:

  • Text Basics

The tutorial includes a short video which demonstrates some key skills.


Margins

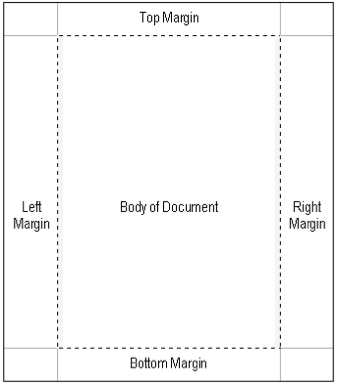
The margins are the white space between the text and the edges of the paper.

TIM-margins1.png


OP icon activity.gif

Activity

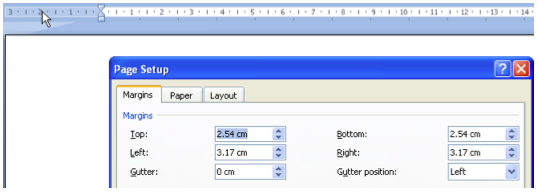
  1. Move your cursor up to this area of the ruler line

    TIM-margins2.png

  2. Double click your mouse. The Page Setup dialog box will appear with default settings for margins

    TIM-margins3.png

    The Tab key on the keyboard will move your cursor through the dialog box:
    • Tab to Left and key new measurement of 2.54
    • Tab to Right and key new measurement of 2.54
    • Press Enter (or click on OK)
  3. View your document in Print Preview to see the changes you have made to the margins.
  4. Close Print Preview

Let’s change the margins again:

  1. Go back into the Page Setup dialog box (or double click on the vertical ruler)
  2. Use the Tab key to move through the dialog box and change the margins so that they appear as the margins shown below:
    • Top: 2.54
    • Bottom: 2.54
    • Left: 4
    • Right: 4
  3. PressEnter (or click on OK)
  4. View your document in Print Preview to see the changes you have made to the margins
  5. Close Print Preview and double click on the ruler line again and change Top and Bottom margins as shown:
    • Top: 4
    • Bottom: 4
  6. View your document in Print Preview – now there is a 4 cm gap all round your text
  7. Close Print Preview