Overview
Wearable electronics are circuits and components that can be worn by a person. These might include things stitched into garments, badges or buttons, or even accessories such as beanies, hats or gloves.
Materials
- Material: felt, cotton fabric etc.
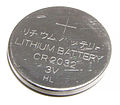
- Coin cell batteries (CR 2032 or similar). These have a positive (+) and a negative (-) side.
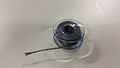
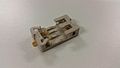
- Sewable coin cell battery holders.
- 5mm or 3mm LEDs.
- Needles, thread, buttons, snap fasteners etc.
- Hot glue gun (optional)
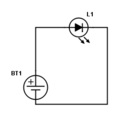
Simple circuit: battery and LED
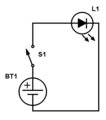
Wearable circuit with switch
Safety
- Coin cell batteries are poisonous and are harmful if swallowed. Keep away from young children.
- Needles and pins dropped on the floor can be ouchie.
|
Step One: Make your wearable
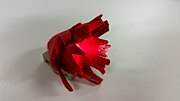
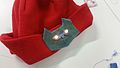
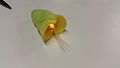
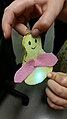
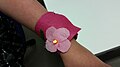
Pohutukawa flower wearable
Think about what you want to make: a badge, brooch, wristband or beanie is a good starting point. Because these are
simple wearables, we're just going to add an LED light to something. Use felt or other suitable material and cut out your design. If you're not good at stitching, you can use a hot glue gun to join fabric together. Some things to bear in mind: your wearable should be large enough to hold your battery holder, LED and a switch if you want to include one.
Step Two: Plan your circuit

This is a basic circuit. We'll make something similar, but instead of using wires, we'll use conductive thread to stitch the circuit.
We're going to use conductive thread to
Step Three: Build your circuit
Tips
- Don't pull the conductive thread too hard. It's not as strong as normal cotton thread.
- A dab of clear nail polish on any knots will stop them from unravelling.
- When choosing your needle, make sure it fits through the holes in your battery holder (and everything else for that matter).
- Needle threaders are very handy for threading through the eyes of tiny needles.