DS4OERS KI/Repository/diagram remix/Import SVG
From WikiEducator
Jump to: navigation, search
Challenge summary
| Summary: | Insert SVG graphic in LibreOffice Draw and change the colours. |
| 5 - 20 minutes (depending on your prior knowledge of using graphics software) | |
| Linked to final challenge |
You will need the skills in editing SVG graphics for this challenge.
Start here
Stimulus resources
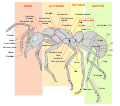
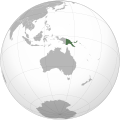
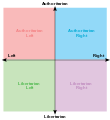
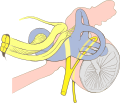
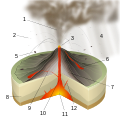
Here, we list some examples of SVG images to show the range of vector graphics that can be included in a teaching resource.
These SVG images were all sourced from the Wikimedia Commons
Insert and re-colour an SVG graphic
The purpose of this challenge is to create a graphic, diagram, or chart to include in your learning materials by re-mixing existing images using the Scalable Vector Graphics (SVG) file format.
- Search for an SVG graphic on the Wikimedia Commons (include 'svg' in your search term). Download and save the file on your computer. Alternatively use the pencil, ruler and protractor image displayed here by clicking on the image, then clicking on the .svg hyperlink, and saving that file on your computer. (Don't save the raster image version which is used in the browser to display the image. You need to download the original file in .SVG format)
- Open LibreOffice Draw
- Using the main menu, go to: Insert ---> Image and select the .SVG image
- Select the SVG image you've saved. Then go to the main menu in Draw and select: Modify --> Break to separate the individual components of the .SVG image. (Alternatively, when the image is selected, use your mouse (usually the right-hand button) to launch the context menu. Select 'Break')
- Click on a sub-component of the SVG image. Using the sidebar, under the 'Area' option, you can change the Fill colour for the component selected (Alternatively, after choosing a sub-component in the image, go to the main menu and select: Format --> Area to change the colour)
- Recolour the image
- Next, "Group" the subcomponents: Select all the sub-components by dragging your mouse so that the rectangle selects all the components in the image. Go to the main menu and select: Modify --> group
- Re-size and move the image. If you don't group the items, some may not be selected for the move


