User:Devyanikapoor
| |||
Contents
SCULPTURE IN PLASTER OF PARIS
Lesson Plan- 1
Name _______________________ Date_______________________
General Objectives:
To learn a three dimensional mode of expression.
Specific Objectives:
- The art activity will facilitate eye-hand coordination and develop fine motor skills.
- It will teach them to view things from all angles as if the object is encased in a cube.
- Help learn specific skills such as converting a 2D image to a 3D form.
- Carving and texturising using tools.
Materials required:
- Acrylic paints
- Water and a large plastic bowl
- Brushes
- Plaster of Paris
- Knife and lino carving tools
- A plastic bread box
- Some oil
Methodology:
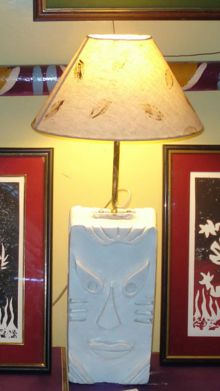
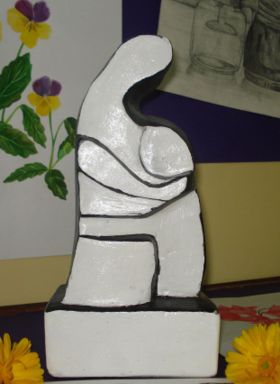
Apply some oil inside the bread box using a broad brush. Then in a large bowl put some water, to this add plaster of paris, one spoon at a time till it starts bubbling at the top. Mix it with a palette knife and pour it in the bread box. Leave to dry. When dry, remove the block of plaster from the box by gently tapping the back of the box. Leave to dry completely. Draw designs keeping in mind how you will carve them from all six sides of the block. You can do realistic and figurative forms or abstract patterns and floral designs, as per your choice. Now draw the design on all six sides as you have conceived it and leaving the portions that are part of your design carve out the rest using lino tools. Use bits of sand paper to even out the sides or curve portions as per your design. You can use a toothpick for fine areas such as eyes or veins in a leaf etc. After this use any colour or a combination of colours to paint your sculpture. Use your creativity and artistic judgment. You can even use pearlised paints or gold and silver dust for a bronze or patina effect. You can even convert this into a lamp or a candle holder.
Points to remember:
- Remove the block carefully and do so when it is 80% dry.
- While carving, if a piece chips off, you can easily fix it by joining it to the main body with some fevicol and plaster of paris solution mixed together.
- Leave at least a 2mm space between your drawing and carving as it will be required for sand papering later on.
- Do a balanced composition with a broader base then top and avoid very thin areas as they can break easily.


