Shifting cells
From WikiEducator
| Working with Spreadsheets in OpenOffice.org Calc | |
|---|---|
| Working with cells | Selection | Inserting | Deleting | Widths and heights | Entering data | Changing contents | Copy, move, delete | Shifting cells | Sorting data | Speeding data entry | Find and replace | Practice | Summary |
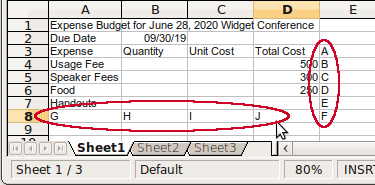
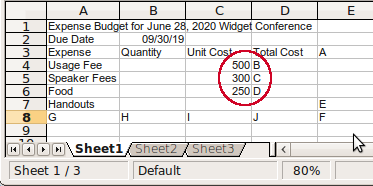
Previously we made changes to the contents of cells. In this operation our focus is on the entire cell, its content and physical presence. The Delete Cells... function, allows us to delete a range of cells and then shift a range of adjacent cells either from below or from the right into the position of the deleted cells.
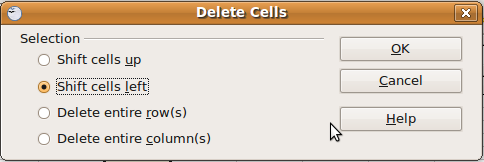
To perform this function, we use the Delete Cells dialog, which is accessed through Edit > Delete Cells.... You may remember using this dialog box earlier to delete entire rows and columns, that is all (not some of) the cells in a row or column. Now let's take a look at the shifting function.
Did you notice any difference between the way the Delete key and Delete Cells... work?
|
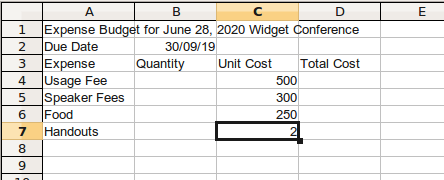
Before moving on, let's do some clean up work in your conference expenses file:
|


